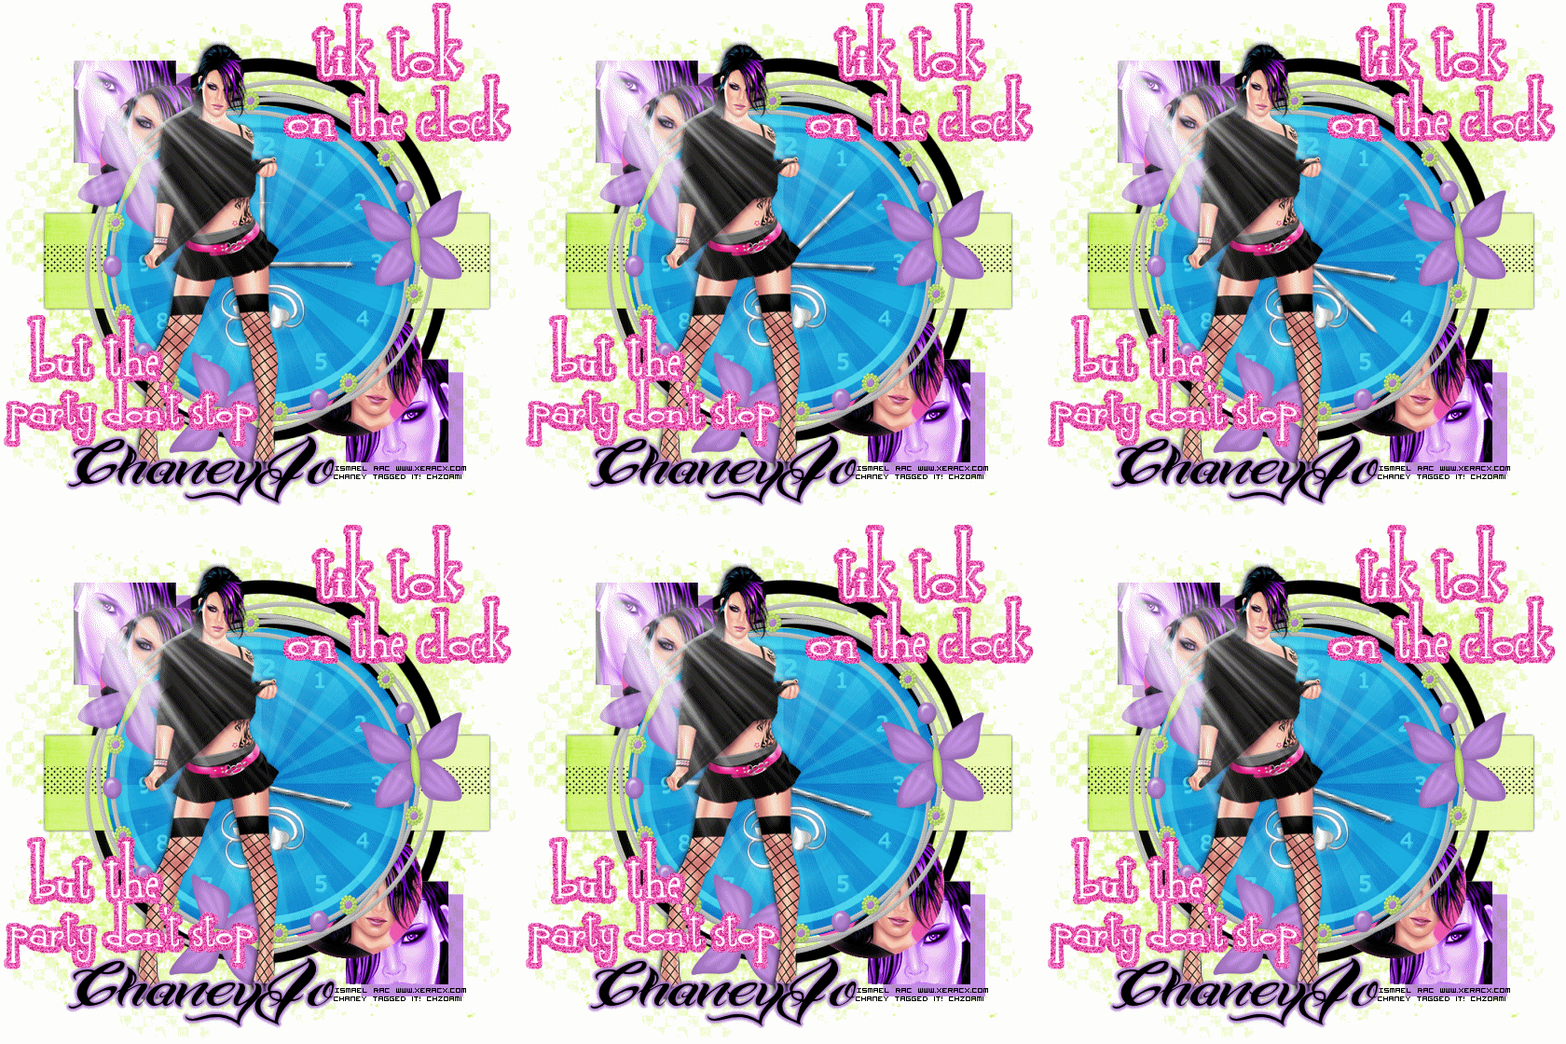
click on preview to see full size
Artwork by Ismael Rac. You need a license to use his work and you can purchase one from AMI.
FTU Scrapkit Smitten by Creative Intentionz
Template #18 by ME. You can download it HERE
Mask of choice.
Filters used:
Toadies- Motion Trail
Xero-Porcelain
This tutorial is made for those with working knowledge of PSP.
Open template and duplicate it. Close the orginal. Delete Credit layers.
Activate clockback layer. Go to Selections/Select all, Float, Defloat. Open CIZ-Smitten-.Paper1. Copy and paste as new layer.
Drag the paper layer directly below the clock back layer. Change the clockback layers blend mode to overlay.
Activate squares layer. Go to selections/select all, Float, Defloat. Add new Raster layer. Flood fill with #9639cf or color of choice. Deselect. Go to effects/Toadies and use Motion Trail.
Use your magic wand and select the top circle. Open your close up tube and copy and paste as new layer. Position where desired and Invert the selecion and hit delete. Deselect.
Do the same for the bottom square. Merge the 2 tube layers together and change the blend mode to Luminance (L)
Now activate the circles layer. Go to selections/Select all, Float, Defloat. Flood fill with #ff58b0 or color of choice. Deselect. Use magic wand to select the top circle. Copy and paste tube as new layer. Resize if needed/want and position where desired. Invert selection and hit delete. Deselect
Do the same for bottom circle.
On the swirl layer go to Adjust/Brightness Contrast and change brightess to -150.
Now activate the rectangle layer. Select with magic wand. Open CIZ-Smitten-Paper8 and copy and paste as new layer. Invert selection and hit delete. Deselect and add dropshadow- h & v=0, Opacity=80, Blur=6.
On background layer add a new raster layer. add paper of choice or flood fill with color of choice. Apply your mask.
Activate tiktok2 and Go to selections/Select all, Float, Defloat. Flood fill with #ff58b0. Go to adjust and add noise. Uniform, 75%. Delete original.
Activate partydontstop2 and do the same.
Open your Full body tube and copy and paste as new layer. Position where desires.
Now add some elements for your own look. I added the light and element2
Add your copyright info and name. Now to the fun part.
(This is the first animation tut I have wrote and this is the only way I know how to animate. If you have a faster way please go ahead and use it. Maybe even shoot me an email and teach me LOL)
Animation:
Activate Minutehand layer.
Duplicate and rotate right by 45˚, Adjust/Sharpen (that way it wont get blurry with each rotate)
Duplicate and rotate right by 45˚, Adjust/Sharpen
Keep doing this till the minute hand make it all the way around the clock. (seven time)
Now hide all the duplicated MinuteHands.You can rename them if you want but I didn't
Activate HourHand layer
Duplicate and rotate by 3˚, Adjust/Sharpen
Repeat seven times.
Hide all the duplicated layers.
With the original hands showing Copy merged and paste into Animation shop and new animation.
Back at PSP hide original hands and unhide copy1. Copy merged and paste into animation shop after current frame
Back and PSP hide copy1 hands and unhide copy2 hands. Copy and paste after current frame.
Repeat until you have done all hand layers. Then save as gif file.


No comments:
Post a Comment