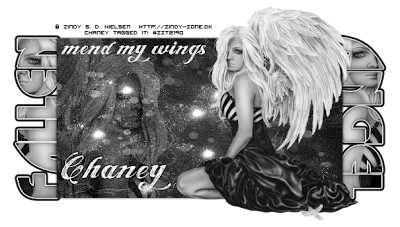
Click on the preview for the full image view
Artwork by Zindy S. D. Nielsen You need a license to use the tube I used and you can get one from her store HERE
Template by Me, Download HERE
Texture of choice
Font used: Angel Tears
Filters used:
Xero Porcelin
Gradient Glow
This tutorial is for those who have knowledge of PSP. Its a short but sweet tut. I hope you like it.
Open my template and duplicate. Close original. Delete Credit layer and change canvas size to 650x500.
Copy and paste your tube. Duplicate it 3 time. Close out 3 of the tubes.
Activate the Fallen layer and go to Selections/Select All/ Float then Defloat. Drag your tube over to the selection and position it where you like. Then go to selections/Invert and hit delete. Deselect and apply Xero Porcelin with default settings but change the blue channel to 0.
Activate the Fallen layer again and apply Gradiet Glow with a small white and black glow. Whatever settings you like. Make it your own.
Unhide and activate another tube layer. Mirror. Activate Angel layer and go to selections/select all/float and defloat. Activate your tube layer and drag it over to your selection and go to selections/invert and hit delete. Go to effects and apply the Xero Porcelin with the same settings as before.
Activate your rectangle layer and use magic wand to select it. Add a new raster layer. Open your texture and copy and paste INTO selection. Change the layer properties to Luminance (L) Do NOT deselect.
Unhide another one of your tube layers. Position where you like, I had to mirror mine. Invert selection and hit delete. Change the layer properties to soft light.
Unhide your last tube. Resize 60% or to desired size. Apply dropshadow of choice.
Now you can take it from here to make it your own. I loved mine after this point but you might choose to add some scrapbook elements or a mask.
Crop it to desired size.
Dont forget to add copyright info.
I would LOVE to see your results. Email them to me at ChaneyJo@gmail.com


No comments:
Post a Comment